

In 1993, my journey into the world of inline skating videography began with a malfunctioning VHS-C camera that had an annoying habit of tinting the footage blue. I had to get creative and use two VCRs for editing, resulting in some rather rough sections. This DIY approach gave birth to my first skate video, aptly named “No Budget, Lo-Fi.”
The following year, I decided to up my game. I invested in a Hi-8 camera and acquired video editing hardware and software for my computer. This new equipment opened up a whole new realm of production possibilities and gave my videos a polished and professional look.
By 1997, I was ready for another transition. I swapped out the Hi-8 camera for a MiniDV one, which marked a significant leap in video quality. From that point until 2009, I embarked on a global journey, documenting the world of inline skating. During this time, I produced nearly a dozen videos, all captured in the MiniDV format.
After 12 years of recording, I found myself with a substantial collection of MiniDV tapes. Unfortunately, external hard drives were both expensive and lacked the storage capacity needed to archive even a fraction of my collection. With a heavy heart, and the pressure to save money, I made the regrettable decision to record over more than a quarter of my tapes, erasing irreplaceable pieces of skating history in the process.
Making New Technology Work With Outdated Technology
Today, external hard drives have become cost-effective and offer ample storage capacity to safeguard all my tapes. A couple of months ago, while reorganizing my office, I stumbled upon boxes filled with MiniDV tapes. These tapes had been accompanying me for nearly two decades, moving from one city to another and from shelf to shelf. In that moment, I resolved that it was high time to transfer their contents to my MacBook Pro and securely archive them onto an external hard drive.
However, I immediately confronted a challenging dilemma: how could I capture footage from a MiniDV Camera equipped with a FireWire 4-pin port and transfer it to my MacBook Pro, which solely boasted Thunderbolt 3 (USB-C) ports?
In the past, all my hardware was conveniently compatible with either FireWire 800 or FireWire 400, making the process of capturing footage a breeze. But now, I found myself at a loss as to how to make this work. So, I reached out to some friends for suggestions. One friend suggested purchasing a USB-C hub with a FireWire 800 port, which came with a hefty price tag of several hundred dollars. Another friend recommended sending my tapes to a company that would digitize them for more than $20 each. Unfortunately, neither of these options appealed to me as they were neither affordable nor in line with my goal of finding a budget-friendly way to capture my precious tapes.
Related: Anker 525: The Amazing Lightning-Fast Charging Station
Is This Even Going to be Possible?
After extensive research, I managed to unravel the solution for capturing MiniDV footage onto my MacBook Pro without breaking the bank. The key to making this work involved acquiring multiple Apple adapters and cleverly connecting them to bridge the gap between the camera and the computer. To get a detailed breakdown of how I accomplished this, check out the video below. Additionally, further down, I’ve provided links for purchasing all the necessary adapters and cables to replicate this setup successfully.
How to Capture MiniDV Tape with USB-C
Does Your MacBook Have Thunderbolt 2 or Thunderbolt 3 (USB-C) Ports?
- If you are running a MacBook with Thunderbolt 2 Ports, you will need the Thunderbolt to FireWire Adapter. And either the Firewire 800 to Mini-DV cable or the Firewire 800 to 400 Adapter and a Firewire 400 to MiniDV cable.
- If you are running a MacBook with Thunderbolt 3 (USB-C) ports, you will need the Apple Thunderbolt 3 (USB-C) to Thunderbolt 2 Adapter together with the Apple Thunderbolt 3 (USB-C) to Thunderbolt 2 Adapter. Then you need either the Firewire 800 to Mini-DV cable or the Firewire 800 to 400 Adapter and a Firewire 400 to MiniDV cable.
Apple Thunderbolt 3 (USB-C) to Thunderbolt 2 Adapter

The Thunderbolt 3 (USB-C) to Thunderbolt 2 Adapter lets you connect Thunderbolt and Thunderbolt 2 devices to any of the Thunderbolt 3 (USB-C) ports on your MacBook Pro. If you have a MacBook Pro with Thunderbolt 3 ports, you will need to buy this and the Thunderbolt to Firewire Adapter below to capture MiniDV footage to your computer. – Purchase Here

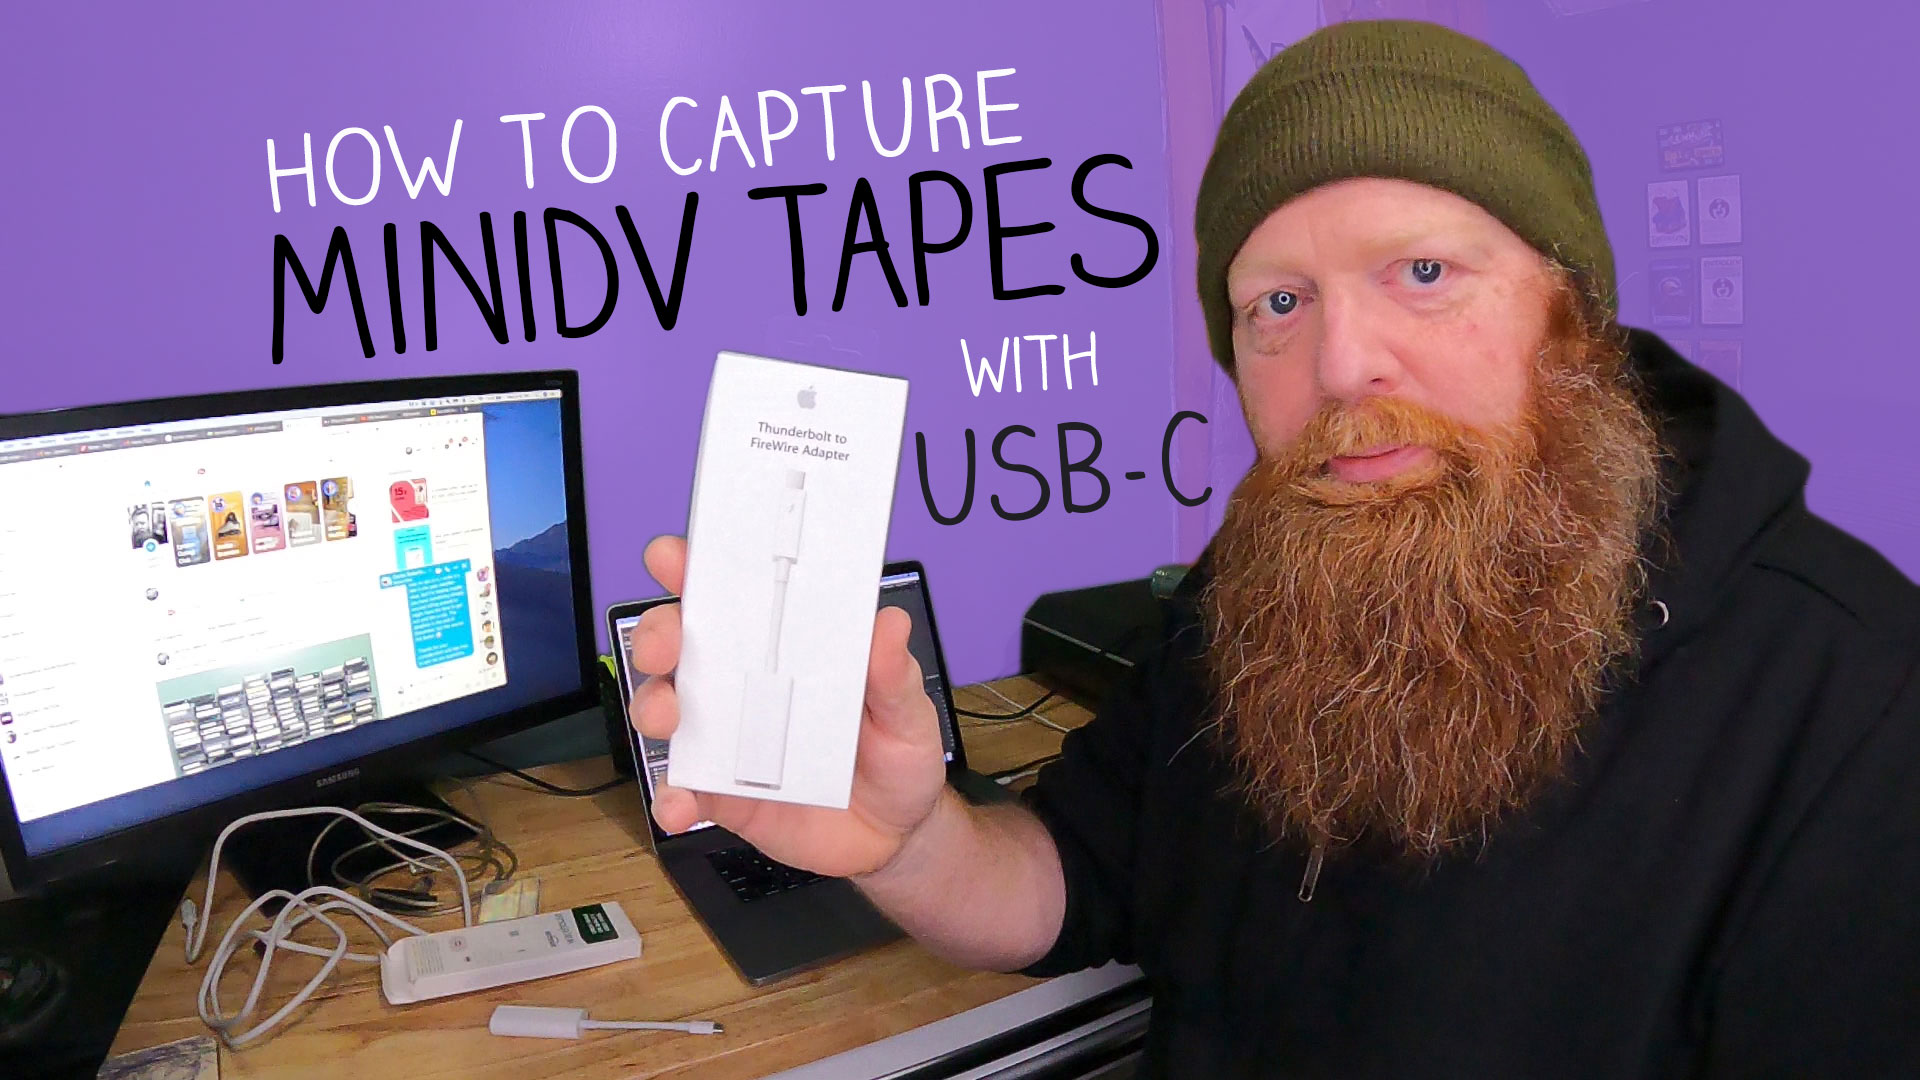
Thunderbolt to FireWire Adapter
This cable connects your Thunderbolt 2 Equipped Mac to a FireWire 800 device. If you have a Mac with Thunderbolt 3 ports, you will have to buy the Apple Thunderbolt 3 (USB-C) to Thunderbolt 2 Adapter above. – Purchase Here

Firewire 800 to Mini-DV
The FireWire 800 9-pin to FireWire 400 4-pin MiniDV cable will connect directly to the Thunderbolt to Firewire Adapter above. – Purchase Here

FireWire 800 to 400 Adapter
The FireWire 800 to FireWire 400 Adapter is for connecting a FireWire 400 Cable to the Thunderbolt to Firewire Adapter. – Purchase Here

FireWire 400 to MiniDV
The Firewire 400 6-pin to 4-pin MiniDV cable can be connected to the Firewire 800 to 400 Adaptor above. – Purchase Here

MiniDV Camera Head Cleaner
One of the first problems I ran into when capturing was getting bars across some footage when capturing it. This had to do with the heads of the MiniDV camera being dirty. After using the head cleaner, the problem when away. When logging footage having a head cleaner available is a good idea. – Purchase Here

Lacie Rugged 4TB USB-C External Hard Drive
If you have a sizeable collection of tapes that you plan to capture, I recommend getting the Lacie Rugged 4TB external drive. I’ve been using these durable drives for years with zero issues while traveling and working on numerous video projects. – Purchase Here
Software
Now that you’ve acquired all the necessary adapters, it’s time to connect your MiniDV camera to your MacBook Pro and decide on the software for capturing footage onto your computer. For a straightforward solution, consider using Life Flix ($100). This software allows you to seamlessly capture your footage, convert it, and perform basic editing tasks. It’s an ideal choice for those looking to simply capture and archive their video clips.
If you’re interested in more extensive video editing, you’ll need additional software options. For basic editing needs, you can opt for Apple iMovie (Free), Adobe Premiere Elements ($59.99), or Filmora ($45-$70). For more advanced editing capabilities, you can explore options like DaVinci Resolve (Free Version), Apple Final Cut Pro ($299), or Adobe Premiere Pro ($20.99 per month). It’s important to note that these advanced programs won’t handle the task of capturing your MiniDV footage; they are meant to complement and enhance your video editing capabilities when used alongside “Life Flix.”


